Comfy Moving Packs Dishes Without the Sad Clink
If you want professional help with fragile kitchen items, Comfy Moving’s packing services can support full or partial kitchen packing before moving day.
Packing a kitchen is where many moves start to feel personal. Clothes can be folded again. Books can survive a bad box. But dishes, glasses, mugs, bowls, platters, and old family serving pieces do not forgive lazy packing.
If you are wondering how to pack dishes for moving, the real answer is not “wrap everything and hope.” The goal is to build a box that can absorb pressure, prevent movement, separate fragile surfaces, and survive being carried, stacked, loaded, transported, unloaded, and opened again in a new kitchen.
A good kitchen box should feel boring when you shake it gently. No clinking. No shifting. No glass tapping against glass. No plates sliding like a stack of poker chips.
Comfy Moving is built for moves where fragile items need more than speed. Our packing, loading, transportation, and unpacking support is made for the parts of a home that people worry about most: kitchens, glassware, mirrors, artwork, lamps, delicate furniture, and the small breakable things that can turn moving day into a headache.
This guide walks through how to pack dishes, glasses, wine glasses, plates, bowls, pots, pans, knives, and small kitchen items so they arrive in one piece.
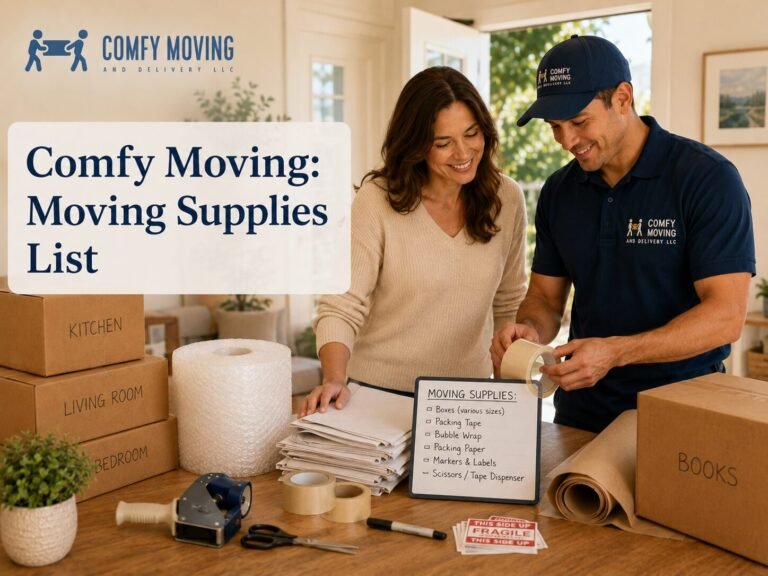
Start With the Right Supplies
The wrong box can ruin good packing. Kitchen items are heavy and breakable, which is a rough combination. You need boxes that can handle weight without collapsing and enough soft material to stop every item from moving.
For dishes and glasses, gather:
- Dish boxes or heavy-duty medium boxes
- Packing paper
- Bubble wrap
- Cell dividers for glasses and stemware
- Heavy-duty packing tape
- Labels or markers
- Dish towels, napkins, or soft kitchen textiles
- Small boxes for heavy items
- Medium boxes for lighter kitchenware
- Plastic wrap or bags for loose accessories
- Rubber bands for bundled lids or utensils
A dish box is usually better than a regular moving box because it is made with thicker cardboard and stronger walls. It costs more than a basic box, but it gives dishes and glasses a safer ride.
Cell dividers are useful for glasses, mugs, and stemware. They create separate compartments, so items do not hit each other inside the box.
Packing paper is usually better than newspaper. Newspaper can leave ink on dishes, mugs, and porous surfaces. It may wash off, but no one wants to unpack a clean kitchen and immediately start scrubbing old print marks off their plates.
Do Not Start With the Items You Still Need
The kitchen is often packed last because people keep using it until moving day. That makes sense, but it also creates a problem: if you wait too long, fragile packing becomes rushed.
Start with the items you do not use every day:
- Extra plates
- Serving bowls
- Platters
- Wine glasses
- Holiday dishes
- Specialty mugs
- Guest glassware
- Extra baking dishes
- Vases
- Decorative kitchen pieces
- Small appliances you rarely use
Leave out only what you truly need for the final days: one plate, bowl, glass, mug, and set of utensils per person, plus a pan, coffee maker, basic cleaning supplies, and pet or child essentials.
Pack those final items into a clearly marked kitchen essentials box on moving day.
Build a Cushion Before Anything Goes In
The bottom of the box is not just a surface. It is the shock absorber.
Before packing dishes, tape the bottom of the box well. Use more tape than you think you need, especially across the center seam and edges. Kitchen boxes get heavy fast.
Then add a thick layer of crumpled packing paper to the bottom of the box. Aim for several inches of cushioning. Do not lay flat sheets at the bottom and call it done. Flat paper does not absorb impact well. Crumpled paper creates air pockets, which help protect the contents.
You can also use clean dish towels, cloth napkins, or soft kitchen linens as part of the cushion. Just make sure they are not your only protection for fragile glass or china.
How to Pack Dishes for Moving
Plates, bowls, and everyday dishes look sturdy, but they chip easily when they rub or hit each other. The key is to wrap every item separately and pack plates vertically, not flat.
Step 1: Group Similar Items
Put dinner plates with dinner plates, salad plates with salad plates, bowls with bowls, and platters with platters. Similar shapes fit together better and reduce awkward gaps inside the box.
Step 2: Wrap Each Dish Individually
Place one or two sheets of packing paper on a flat surface. Put the plate in the center or near one corner. Fold the paper over the plate, then bring in the other corners until the dish is fully covered.
For fragile, expensive, or sentimental dishes, use more paper or add a layer of bubble wrap.
Do not wrap a stack of plates as one bundle. It may seem faster, but if the stack shifts, the plates can grind against each other and chip.
Step 3: Pack Plates on Their Side
This is one of the most important details. Pack plates vertically, like records or like dishes in a dishwasher. Do not lay them flat in a stack.
Vertical packing helps the plates absorb pressure better. Flat stacks are more likely to crack under weight if the box is bumped or compressed.
Step 4: Fill Empty Space
Once a row is packed, fill gaps with crumpled paper, towels, or soft kitchen textiles. Nothing inside the box should move.
A small amount of space is normal. Loose space is not.
Step 5: Keep the Box Manageable
Dishes are heavy. A box that is too heavy is more likely to be dropped, dragged, or handled awkwardly. Use smaller or medium boxes for dense kitchen items instead of trying to fit the whole cabinet into one container.
If the box feels hard to lift, it is too heavy.
How to Pack Bowls
Bowls can be nested, but they still need protection between each piece.
Wrap each bowl individually. If the bowls are strong and similar in size, you can nest them after wrapping, but do not let bare ceramic touch bare ceramic. Add extra paper between bowls if needed.
Place heavier bowls at the bottom and lighter bowls higher in the box. Fill the curved empty spaces with crumpled paper so the bowls cannot rock back and forth.
Large serving bowls should usually go in a separate box or sit at the bottom with lighter items above them.
How to Pack Glasses
Glasses need more care than plates because they have thinner walls and open interiors. The goal is to protect both the outside and inside of each glass.
Step 1: Sort First
Before packing, take a hard look at your glassware. Moving is a good time to let go of chipped glasses, cloudy plastic cups, mismatched pieces you never use, and anything that is already cracked.
Do not pay to move items you do not want in the new kitchen.
Step 2: Stuff the Inside
Place crumpled packing paper inside each glass. This gives the glass support from the inside and helps reduce pressure if the box shifts.
Do not overstuff. The paper should support the shape, not force pressure against the glass.
Step 3: Wrap the Outside
Wrap each glass individually with packing paper or bubble wrap. Use extra paper around thin rims and handles.
Mugs need special attention around the handle. Wrap paper around the handle first, then wrap the entire mug.
Step 4: Pack Glasses Upright
Glasses should usually be packed upright, not sideways. If you are using cell dividers, place one wrapped glass in each compartment. If you are not using dividers, create rows and use paper between every item.
Do not let glasses touch each other.
Step 5: Add a Top Cushion
When the box is full, add crumpled paper on top before sealing it. The top layer matters because boxes may be stacked or shifted during loading.
Label the box clearly on more than one side: “FRAGILE – GLASSWARE – THIS SIDE UP.”
How to Pack Wine Glasses and Stemware
Wine glasses are delicate because the stem is usually the weakest point. Treat stemware as its own category, not as regular glassware.
Wrap the stem first with a strip of paper or bubble wrap. Then stuff the bowl of the glass with paper. After that, wrap the whole glass in several sheets of packing paper.
For expensive, crystal, antique, or sentimental stemware, use cell dividers and consider double boxing.
Double boxing means packing the glasses in a smaller protected box, then placing that box inside a larger box with cushioning on all sides. It takes more material, but it gives fragile stemware much better protection.
Do not place heavy items on top of wine glasses. Even if the box has space, fill the space with soft material instead of more dishes.
How to Pack Platters and Serving Dishes
Platters are awkward because they are larger and often heavier than regular plates. Wrap them separately with several sheets of paper. Bubble wrap is smart for glass, ceramic, or decorative platters.
Pack platters vertically if possible. If they are too large for a standard dish box, use a properly sized box where the platter can be cushioned on all sides.
Do not mix heavy platters with delicate glassware. A platter that shifts in transit can crush smaller items.
How to Pack Pots and Pans
Pots and pans are not as fragile as glass, but they can still scratch, dent, or damage other items in the box.
Start by removing all glass lids. Wrap each lid separately and pack lids vertically, like plates, with padding between each one.
Nest pots and pans by size. Place a layer of paper, towel, or bubble wrap between each piece to prevent scratching.
Cast iron should be packed carefully because it is heavy. Do not put several cast iron pans into one large box. Spread the weight across smaller boxes and keep cast iron near the bottom.
Nonstick pans need surface protection. Wrap them individually so the cooking surface does not get scratched by another pan, utensil, or lid.
How to Pack Small Kitchen Appliances
Small appliances are easier to damage than they look. Coffee makers, blenders, mixers, air fryers, food processors, and toaster ovens often have loose parts, glass pieces, trays, blades, cords, and removable inserts.
The original box is best if you still have it. If not, choose a box that fits the appliance closely without squeezing it.
Before packing:
- Clean and dry the appliance
- Remove loose parts
- Wrap glass pieces separately
- Bag small accessories
- Tape or tie the cord
- Label the accessory bag
- Keep blades protected and clearly marked
If a food processor has sharp blades, do not toss them into a random kitchen box. Wrap them carefully and label the package so no one gets cut during unpacking.
How to Pack Kitchen Knives Safely
Knives should never be packed loose. They should also never be packed upright with the tips pointing up.
Use knife sleeves if you have them. If not, wrap each knife in several sheets of packing paper, then add bubble wrap or a folded towel around the bundle. Secure the bundle with tape or rubber bands.
Place knives flat inside a small box or plastic bin. Label the box clearly: “KITCHEN KNIVES – SHARP.”
This label is not only for you. It protects movers, family members, and anyone helping unpack.
How to Pack Food Storage Containers
Plastic food containers are light and useful for filling space, but this is a good time to sort them. If a container has no lid, or a lid has no container, do not move it unless you have a reason.
Nest containers together by size. Bundle lids with rubber bands or place them in a bag. These lighter items can go near the top of dish boxes or fill safe gaps around heavier wrapped items.
Do not use loose plastic containers as the only padding for fragile dishes. They fill space, but they do not cushion as well as crumpled paper.
How to Use Towels, Napkins, and Socks for Padding
Soft household items can help protect kitchenware, but they should be used wisely.
Good padding items include:
- Dish towels
- Cloth napkins
- Small towels
- Clean socks
- Soft T-shirts
- Aprons
- Pot holders
Use them to fill gaps, protect pot surfaces, or add a soft layer at the top of a box. For fragile glass, china, or crystal, packing paper or bubble wrap should still do the main protective work.
Do not use dirty towels or damp textiles. Moisture inside a sealed box can create odor, stains, or mildew.
How to Label Kitchen Boxes
Labels make unloading and unpacking easier. They also help movers understand which boxes need careful handling.
Each box should include:
- Room: Kitchen
- Contents: plates, bowls, glassware, mugs, pantry, appliances
- Fragile notice, if needed
- This side up arrows, if needed
- Priority: open first, open later, storage
A strong label might look like this:
“KITCHEN – EVERYDAY PLATES – FRAGILE – OPEN FIRST”
Write on at least two sides and the top. A label only on the top becomes useless once boxes are stacked.
The Most Common Dish Packing Mistakes
Most broken dishes come from a few avoidable mistakes.
Using Weak Boxes
Thin boxes are risky for dishes. Use dish boxes or sturdy medium boxes.
Packing Boxes Too Heavy
A box that is difficult to lift is more likely to be dropped.
Leaving Empty Space
If items can move inside the box, they can break. Fill all gaps.
Packing Plates Flat
Plates packed flat are more vulnerable to pressure. Pack them vertically.
Letting Glass Touch Glass
Every glass should be wrapped and separated.
Rushing the Kitchen
The kitchen takes longer than people expect. Start before the final night.
Mixing Fragile and Heavy Items
Do not pack glassware with cast iron, large platters, or heavy appliances.
Forgetting the First-Night Box
You do not want to open six dish boxes just to find one mug and a coffee spoon.
What to Keep Out Until Moving Day
Do not pack the entire kitchen too early. Keep a small set of essentials available.
For the last few days, you may need:
- One plate per person
- One bowl per person
- One glass or mug per person
- Basic utensils
- One pan or pot
- Coffee maker or kettle
- Dish soap
- Sponge
- Paper towels
- Trash bags
- Pet bowls
- Baby or child feeding items
- Medication or supplements
- Cleaning supplies
On moving day, pack these into one clearly labeled essentials box. Keep it easy to reach at the new home.
Should You Pack Dishes Yourself or Hire Professional Packers?
Packing dishes yourself can save money if you have time, patience, and the right supplies. It is a good option for small kitchens, everyday dishes, and local moves where you can control the pace.
Professional packing makes sense when:
- You have expensive dishes or crystal
- You are short on time
- You have a large kitchen
- You are moving long distance
- You have antiques or family heirlooms
- You are worried about breakage
- You need packing and moving done close together
- You physically cannot pack everything safely
At Comfy Moving, packing support can be part of a larger moving plan. We can help pack fragile kitchen items, protect furniture, load boxes correctly, transport everything safely, and unpack at the new home if needed.
That matters because safe packing is only one part of the job. The box also needs to be loaded properly. Dish boxes should not be crushed under heavy furniture or placed where shifting items can damage them during transport.
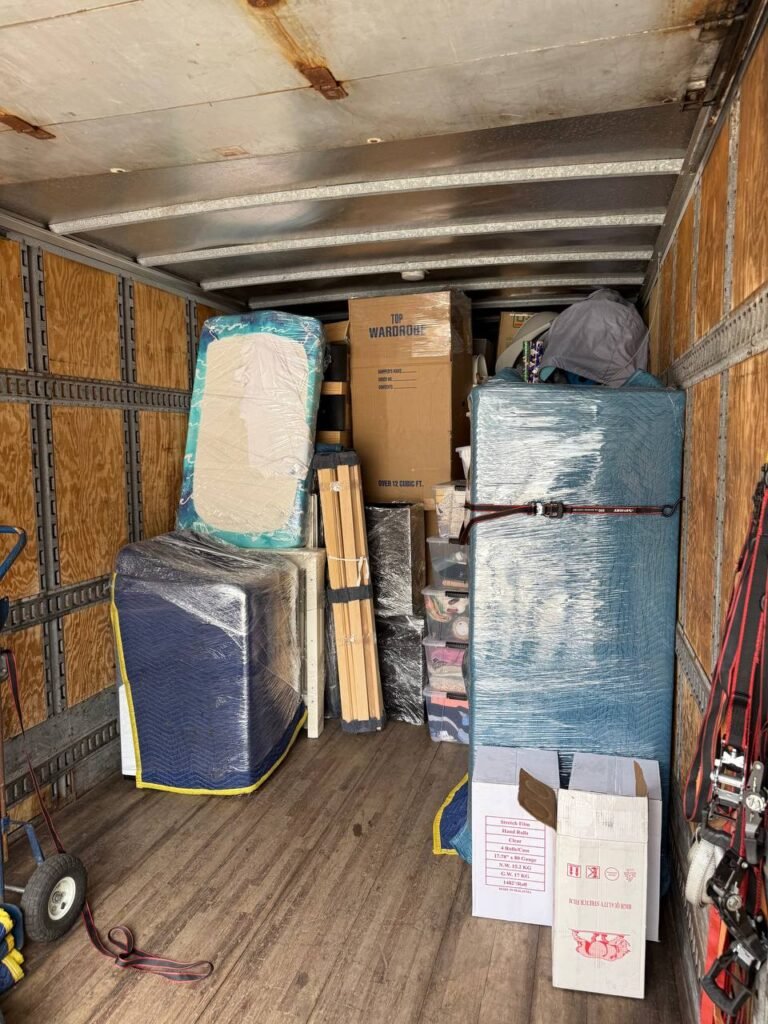
How Movers Load Dish Boxes Safely
A well-packed dish box still needs smart loading.
Fragile kitchen boxes should be placed where they will not be crushed, tipped, or hit by shifting furniture. Heavier boxes belong lower, while lighter boxes can go higher. Boxes should be stacked tightly enough to stay stable but not so tightly that fragile contents are compressed.
Dish boxes should not sit under very heavy items. They should also not be left loose where they can slide during the drive.
This is where professional loading makes a difference. Moving is not only about strength. It is also about knowing how weight, balance, friction, and space work inside the truck.
Final Kitchen Packing Checklist
Use this checklist before sealing your last kitchen box:
- Boxes are reinforced with tape
- Bottoms have a thick cushion layer
- Every dish is wrapped individually
- Plates are packed vertically
- Glasses are stuffed and wrapped
- Stemware has extra stem protection
- Empty space is filled
- Heavy items are at the bottom
- Boxes are not too heavy
- Lids are wrapped separately
- Knives are packed flat and labeled
- Appliances are dry and secured
- Essentials box is separate
- Boxes are labeled on top and sides
- Fragile boxes are marked clearly
- First-night kitchen items are easy to reach
Learning how to pack dishes for moving is really learning how to control movement inside a box. Breakage usually happens when dishes touch, slide, rattle, or carry too much pressure. Use strong boxes. Wrap every item. Pack plates on their sides. Protect glassware from the inside and outside. Fill every gap. Keep the weight reasonable. Label everything like someone else will be unloading it – because someone probably will. A kitchen takes time, but careful packing pays off the first night in the new home, when you open a box and hear silence instead of broken glass.
Services that match this moving topic